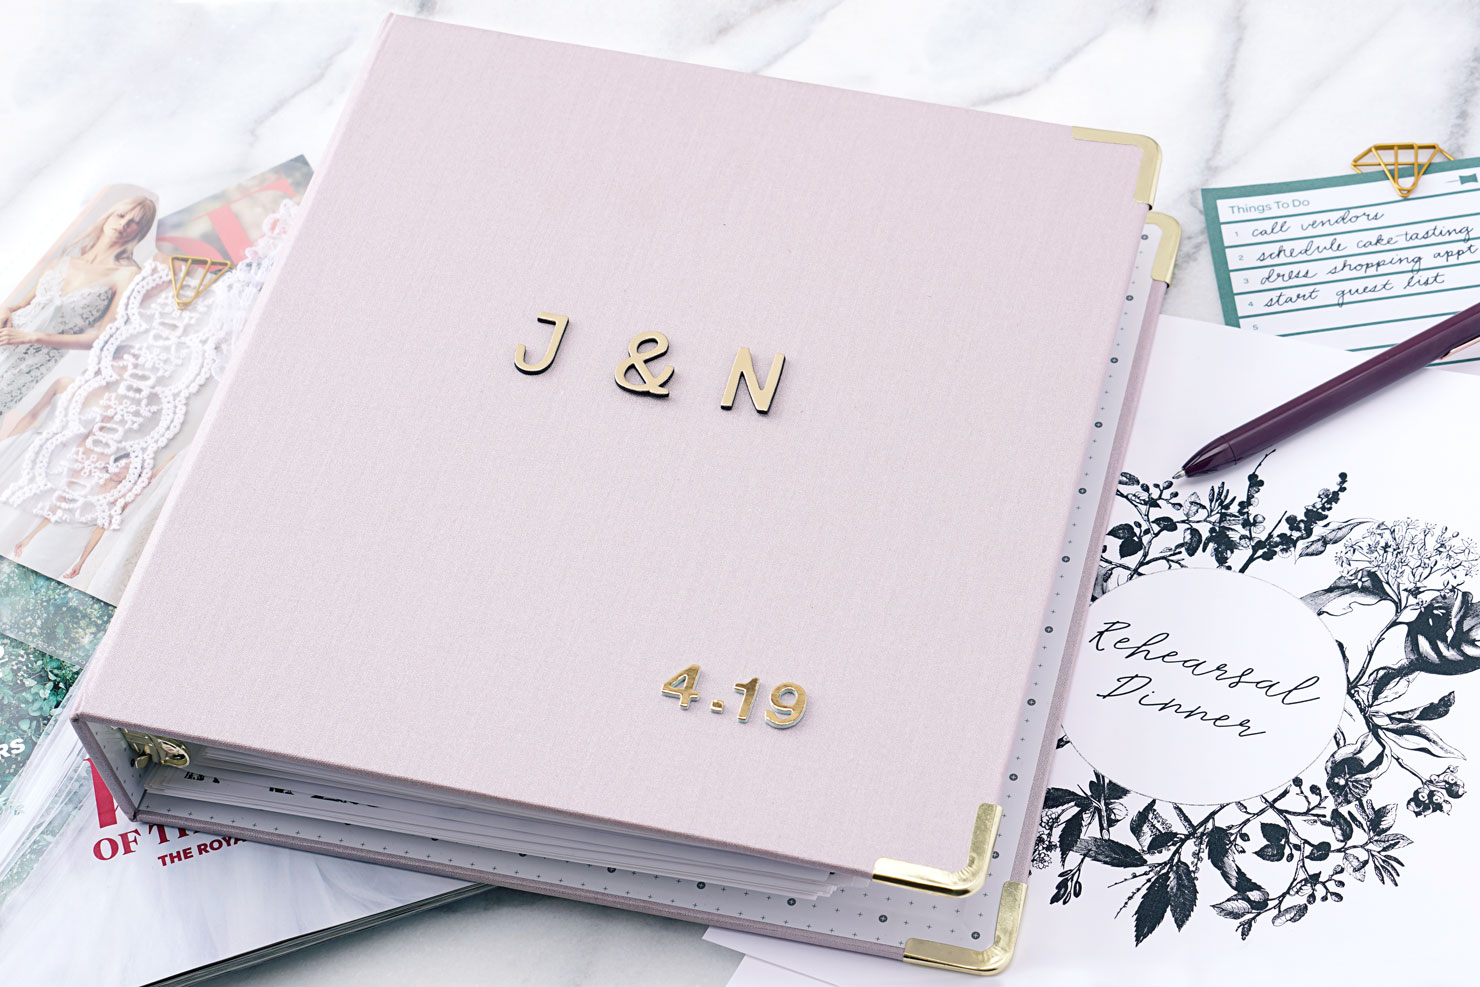
How To Put Together A Beautiful Wedding Binder
Guest Blog post by Janey Velasco
Ready and excited to start planning your wedding? Well, get ready for a potentially long and overwhelming process but very much worthwhile nonetheless. If you’re already feeling a bit nervous thinking about the budget, venue, guestlist, music and every small but important detail of your wedding, having something to hold all that information and keep you on track is essential.
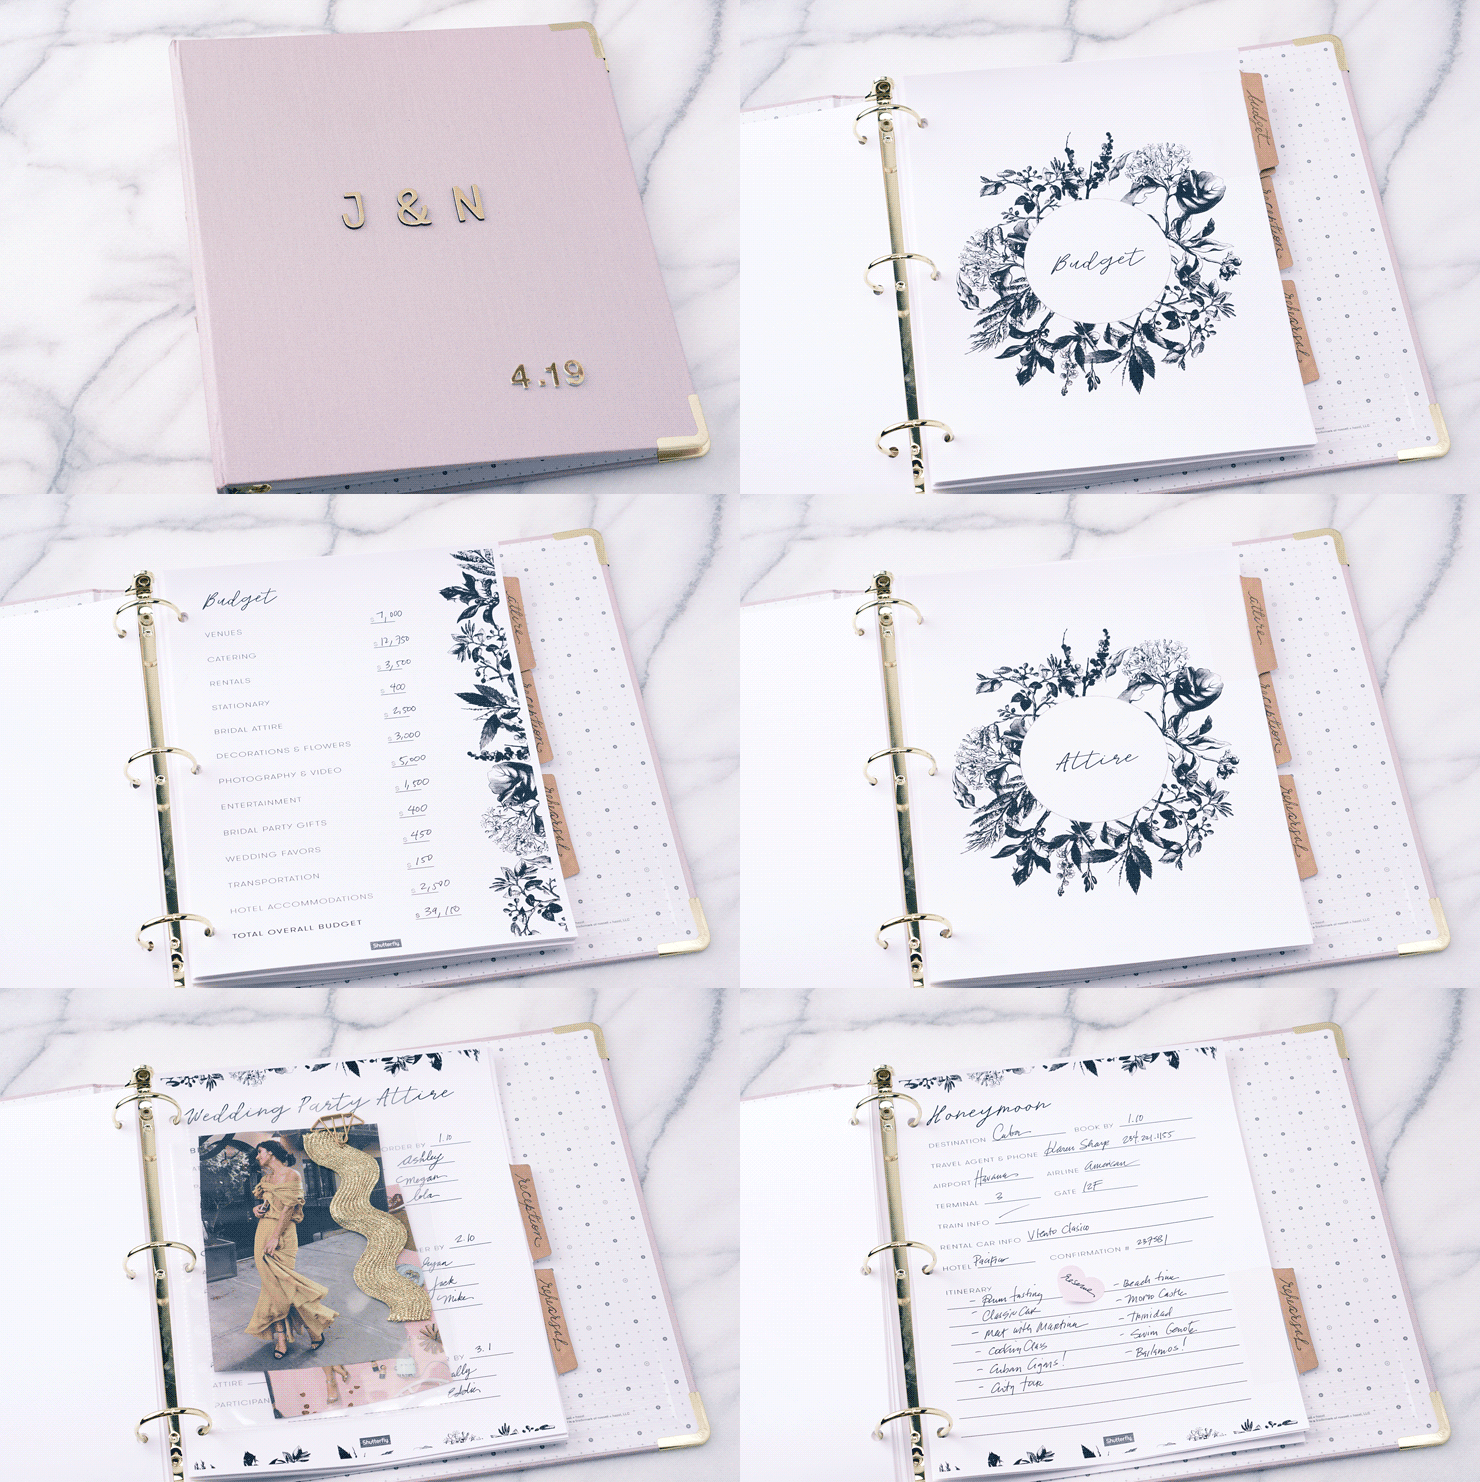
With that said, I thought I’d share with you this tutorial on how to make your own wedding binder from Shutterfly. Not only is this super easy to put together but they also include three beautiful printables that list every single detail for your wedding.
Once you choose the design you like best, you’ll see that each printable includes a timeline and checklist, a guestlist, a general budget roundup and a detailed budget sheet, a vendor list, attire checklists, honeymoon itinerary and much more! You can also use their blank sheets to add any details unique to your special day.
Having a binder like this, even when you’ve hired a wedding planner, can help keep you sane and inspired throughout the process. Use it to keep your moodboard, color palettes, fabric swatches and anything else you need to communicate your vision to everyone involved in the planning. It’ll also make for a gorgeous memento after your wedding. If you’re ready to start your binder, keep reading!
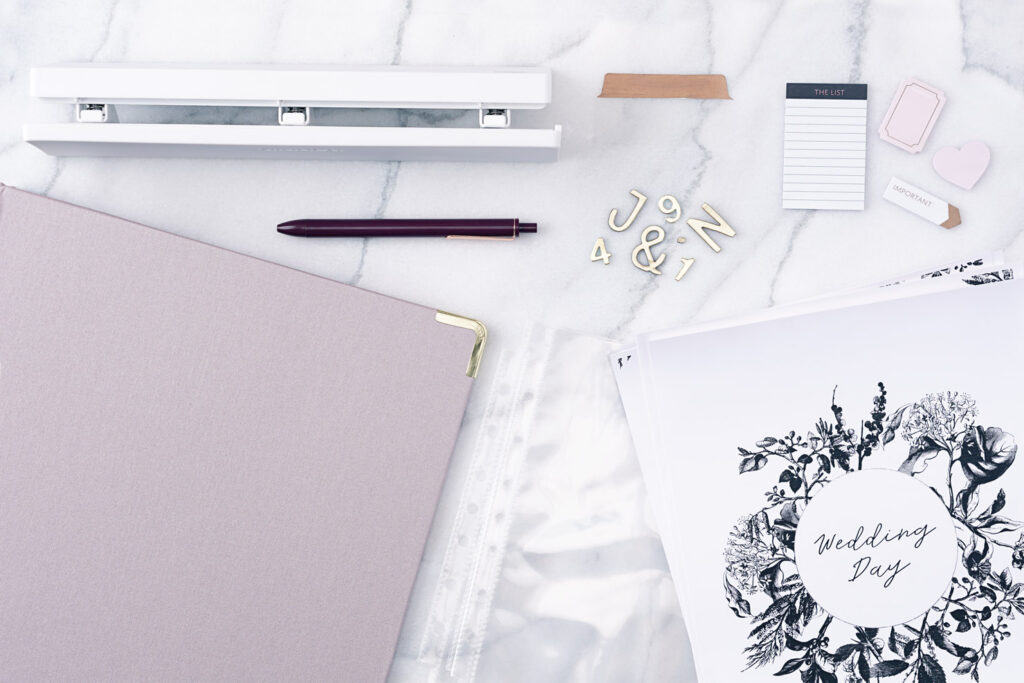
Materials:
- Three-ring binder
- Shutterlfy printables
- Tab stickers
- Sticker letters
- Sticky notes
- Pens
- Clear pocket sheets
- Three-hole puncher
Step 1: Pick a binder that you love. Whether it’s in your wedding’s color scheme or has a cute floral design, go with something you’d like to keep after the wedding.
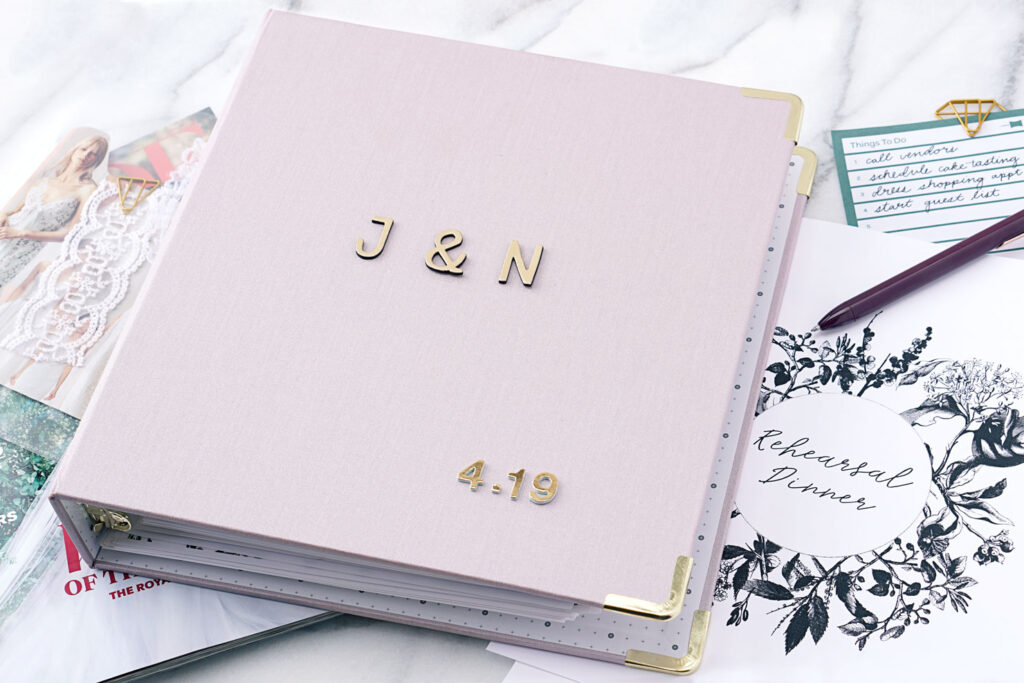
Step 2: Decorate the cover with your wedding date, initials or even a photo of both you and your future spouse. Use stickers, letters or get creative with some paint.
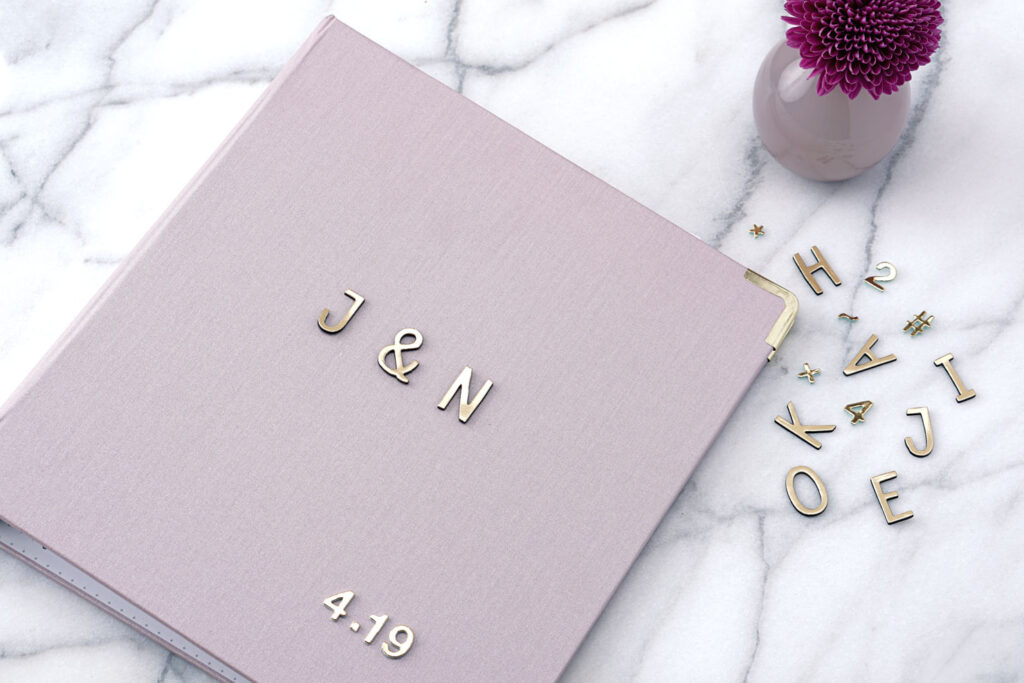
Step 3: Download and print your wedding binder printables. Hole punch them and arrange them in the order that feels right for your wedding planning process.
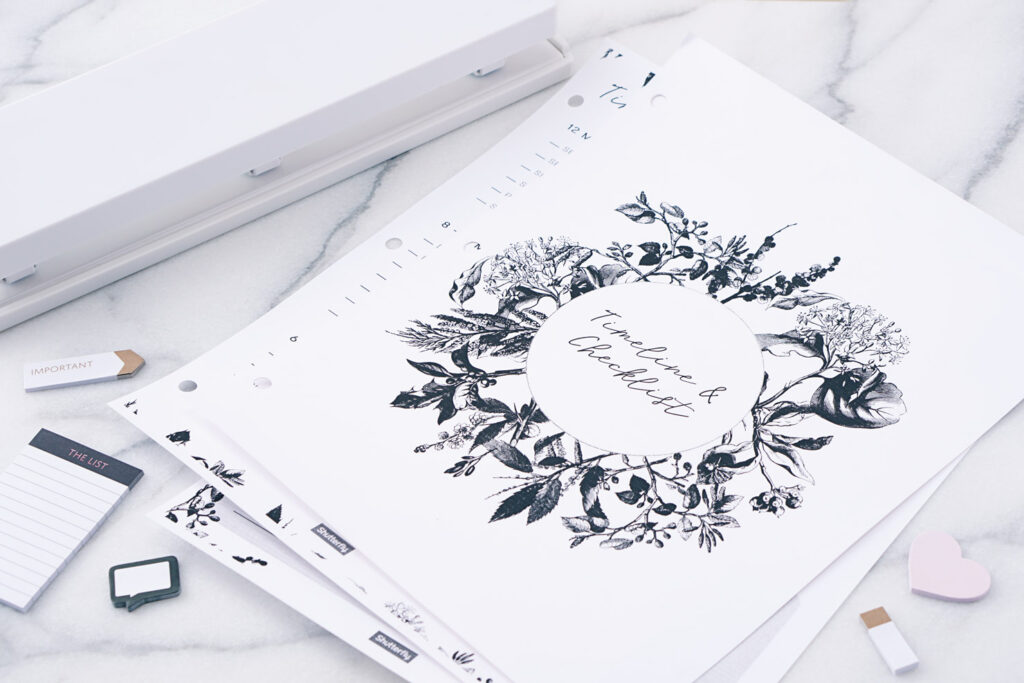
Step 4: Add labels and dividers on your cover pages to easily locate what you need. You can also use plastic tabs to later remove them and have a clean binder after the wedding.
Step 5: Include a pocket sleeve to hold photos, an invitation, a save the date, fabric swatches and anything else you’d like to keep.
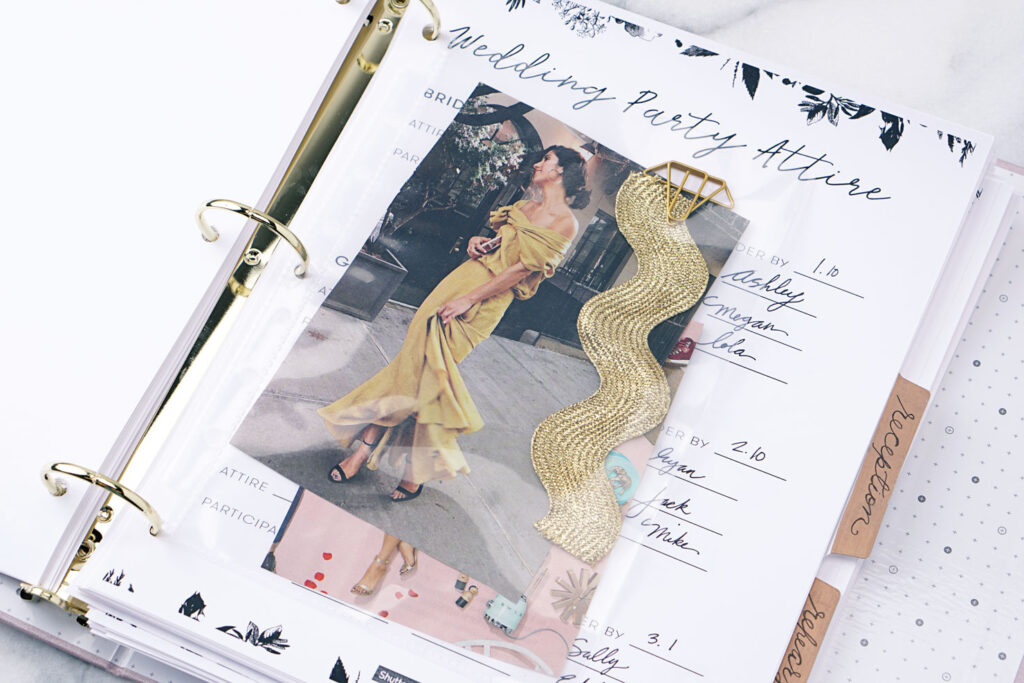
Step 6: Your binder is ready! Add any additional sections, sheets, inspiration and notes as needed.
Remember to take things step-by-step and check in with your fiance and those helping you plan your wedding whenever you’re feeling overwhelmed. At the end of the day, it’s a celebration of love between you and your fiance so enjoy your engagement and happy planning!
LINK (for easy access): https://www.shutterfly.com/ideas/diy-wedding-binder/